These instructions will show how to prep an audio file and post an episode for a podcast.
Copy Your Audio File to iTunes
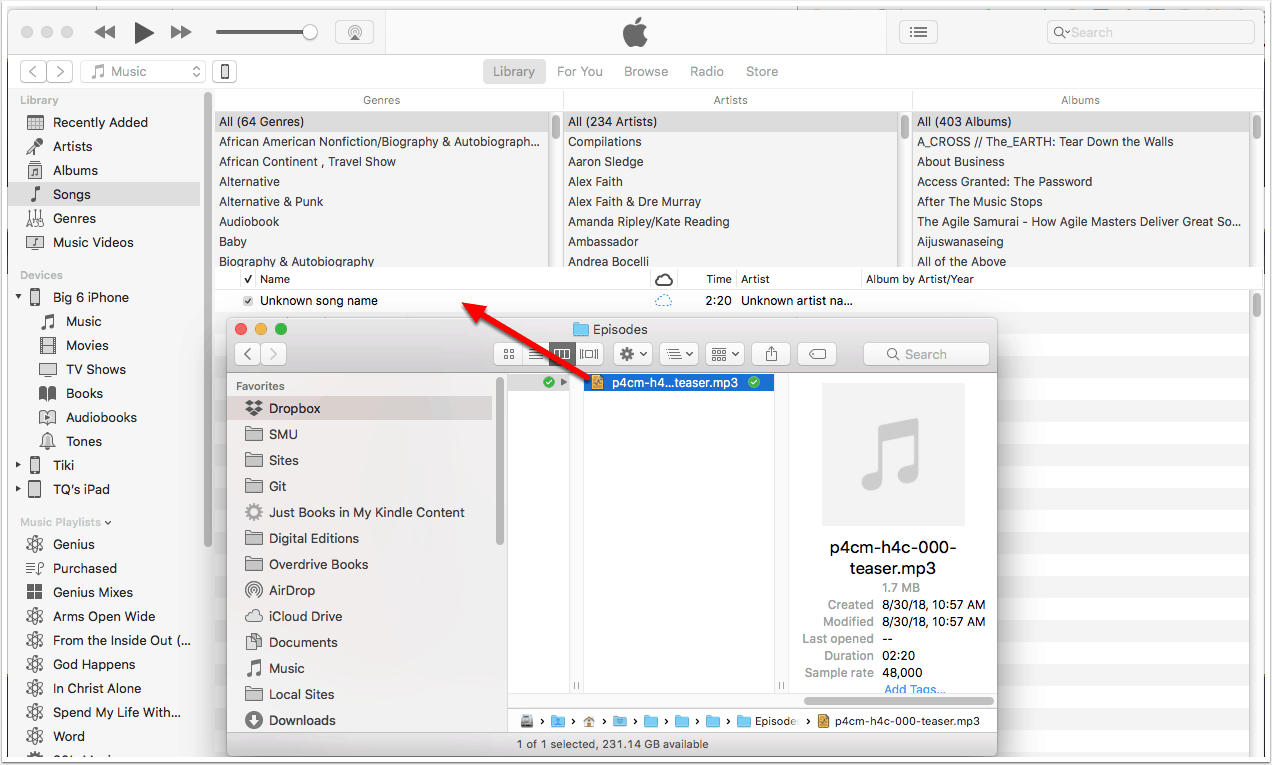
Find the completed file as an mp3 version. The file format should be mp3 and 96k mono. This is the smallest size file with good quality enough to be played on any platform.
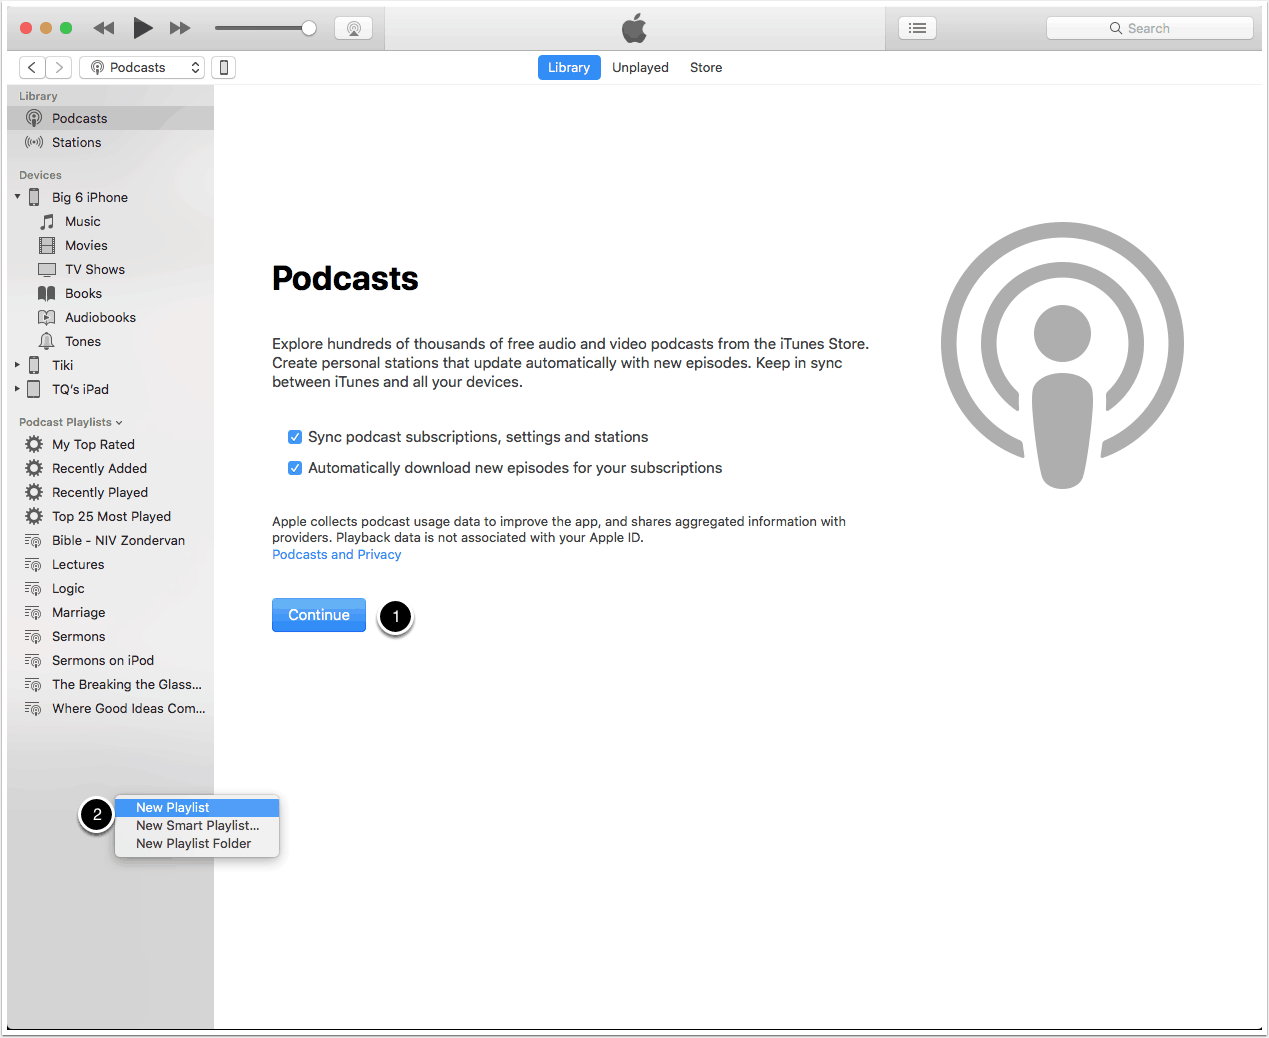
Copy it to the iTunes app to give the file the attributes needed to post it online. This is how it will look if you’ve made a podcast playlist in iTunes. If this is your first time doing this and you haven’t created a playlist first, go to the next step.

Copy Your Audio File to the Main Music List
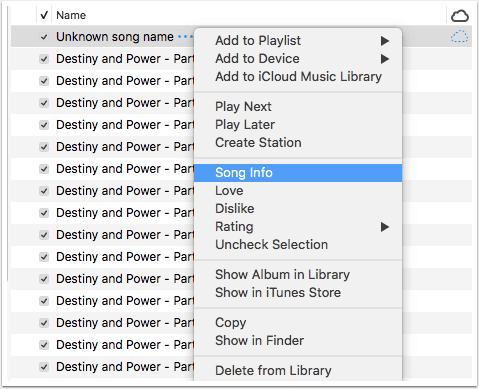
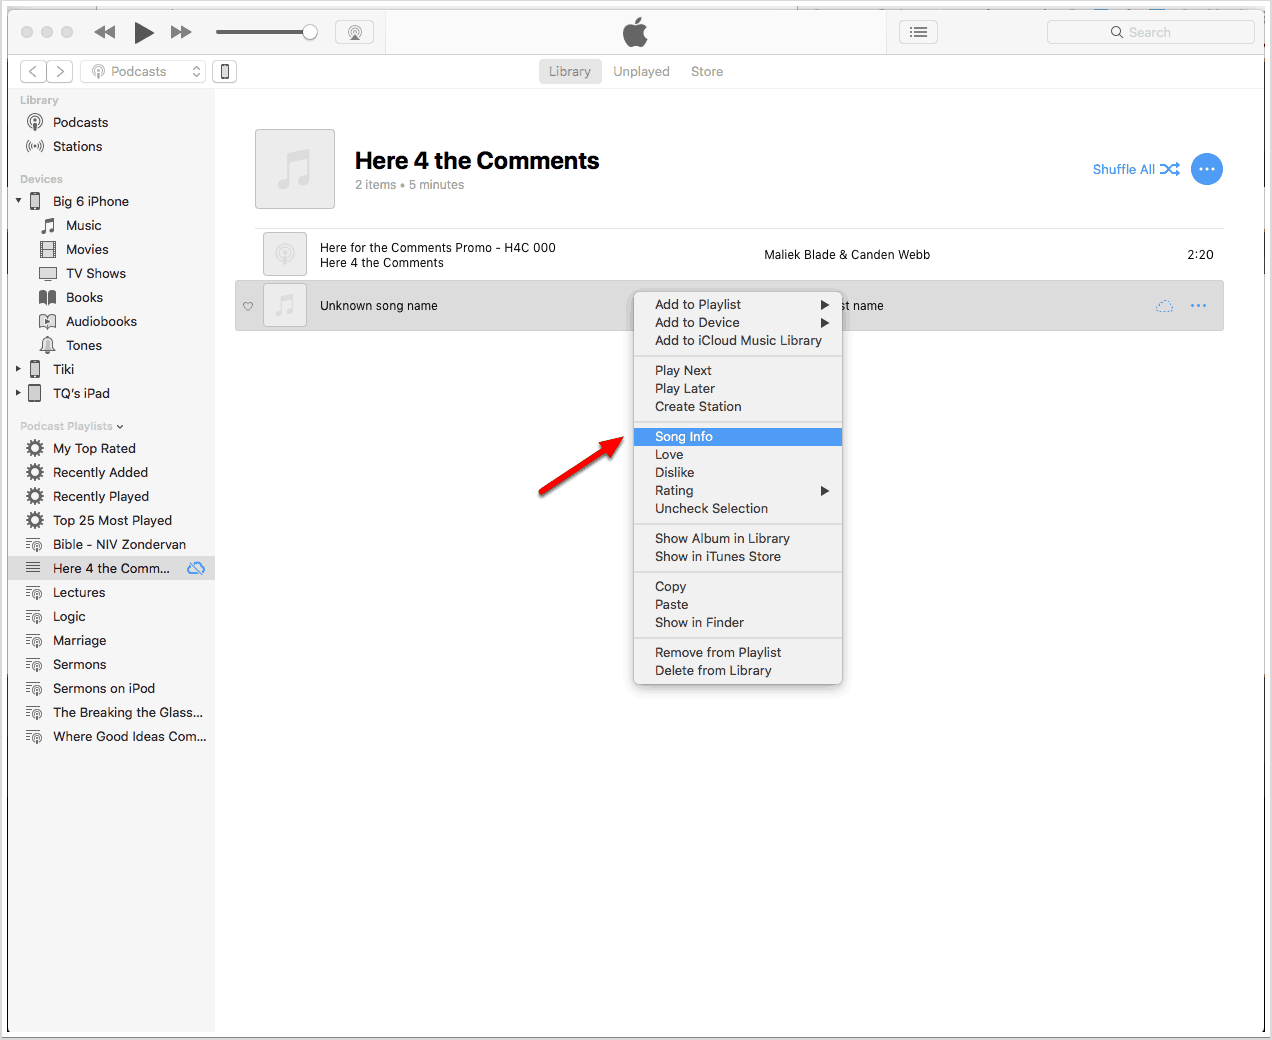
Go to Song Info
Right click the file and select song info.
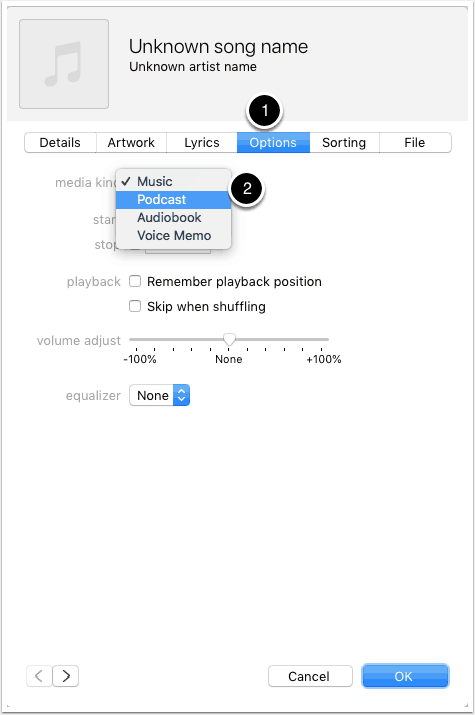
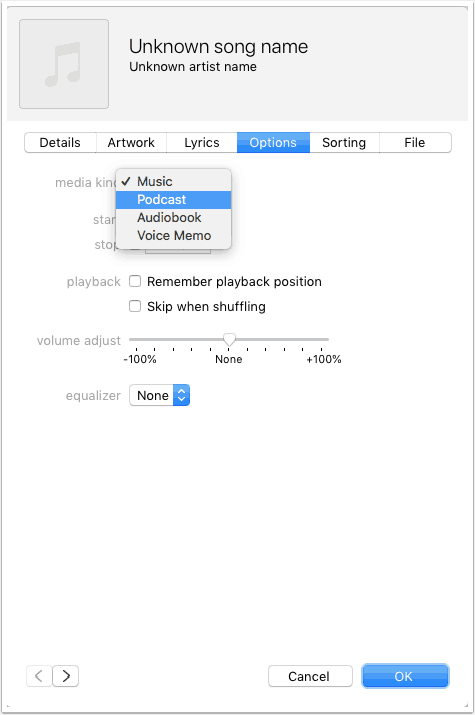
Change media kind to podcast
- Click on the options tab
- Select the podcast media kind
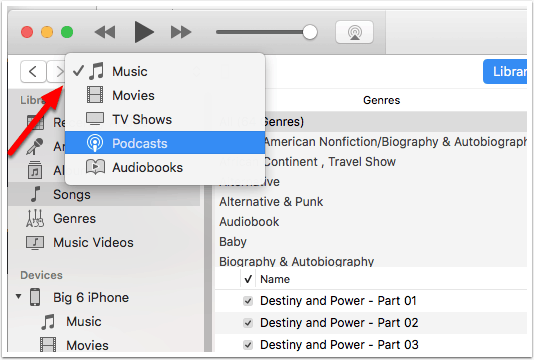
Change to Podcast List
Click on the dropdown at the top left where Music should be selected and select Podcasts
Pass initial setup screen & Create Playlist
- If this is the first time you’ve been in the podcast section of iTunes, select the options you prefer and click continue. If you already have a podcast playlist with older episodes, skip this.
- Right click in the left column and select create New Playlist. Name it the same as your Podcast name (in this case, Here 4 the Comments)
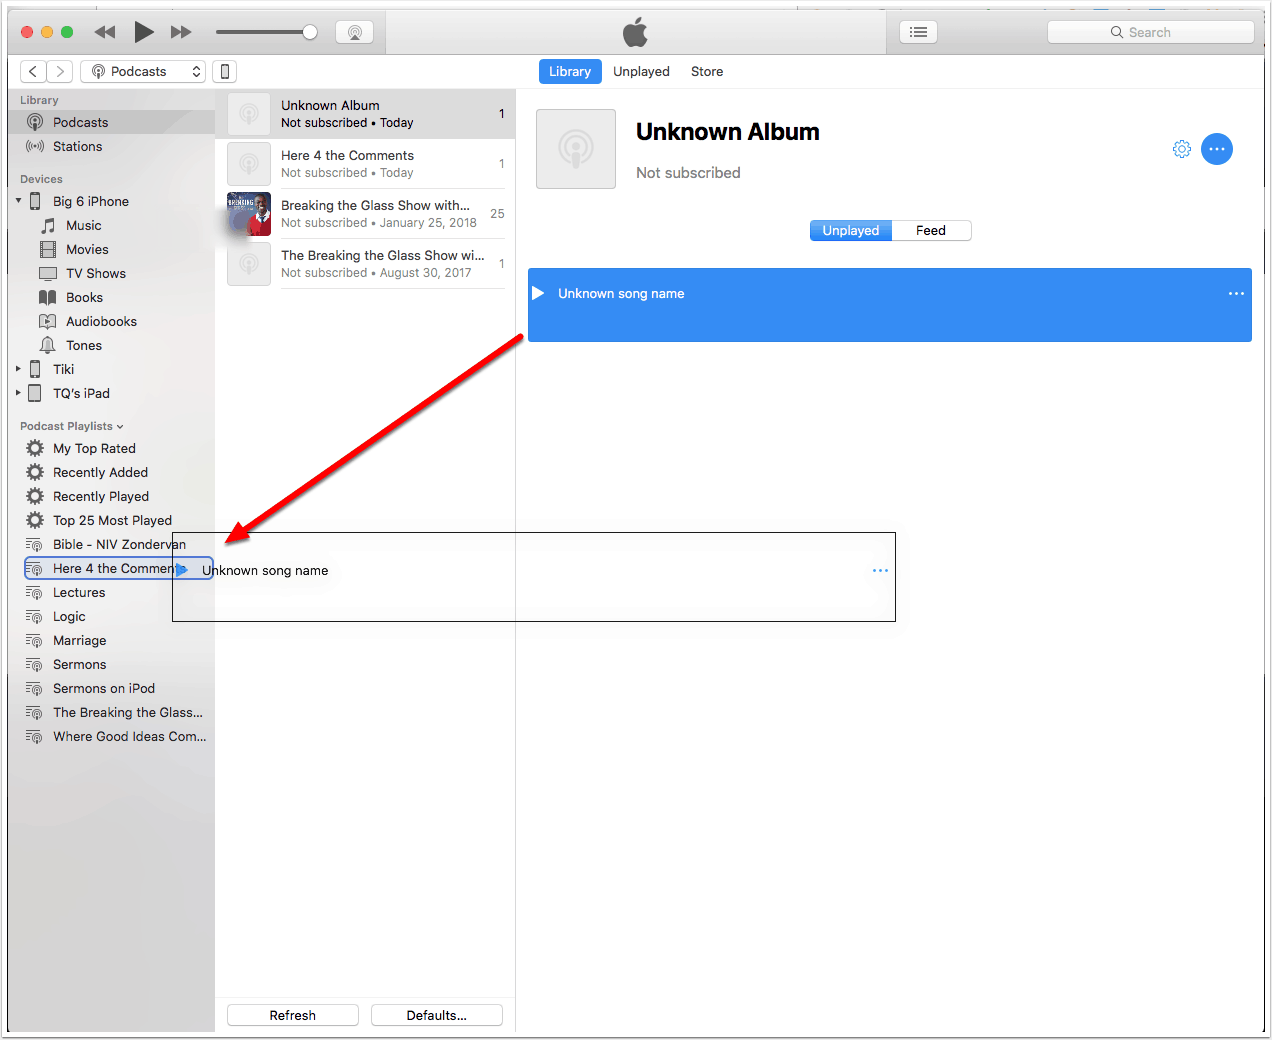
Add episode to your playlist
Drag the new episode to your playlist to keep things organized.
Select song info in playlist
Right click the new episode and select Song Info (it may also be listed as Podcast Info).
Change media kind to podcast
(If you haven’t done it already)
- Click the options tab
- Change media kind to Podcast.
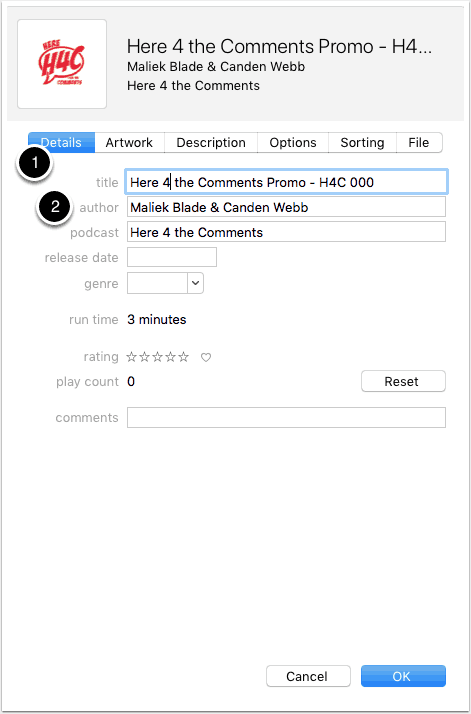
Update podcast details
All of this info you’re entering is called ID3 metadata. It’s info in the song file about the file. It lets all players know the info about the file you’re entering.
- Click on the details tab.
- Enter the title, author, and podcast title fields. You should include the episode number in Title.
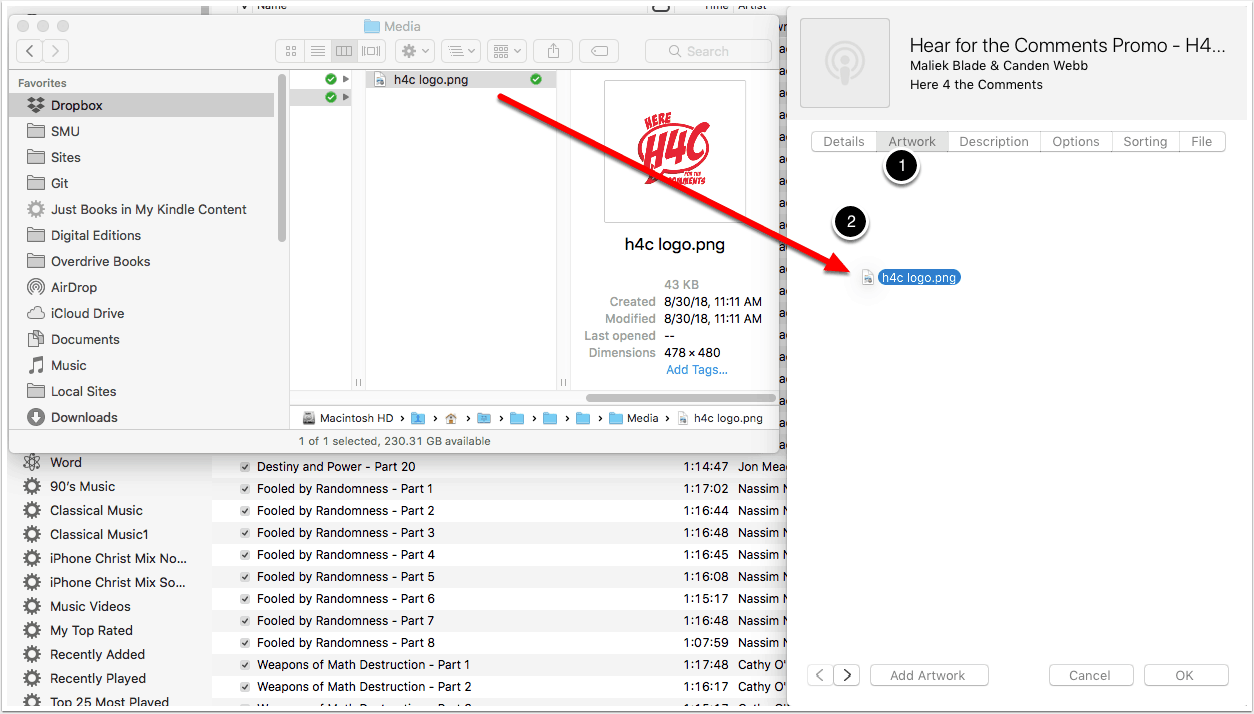
Add the podcast image
This is included in the ID3 metadata as well.
- Click th Artwork tab
- Drag the podcast artwork into the empty space
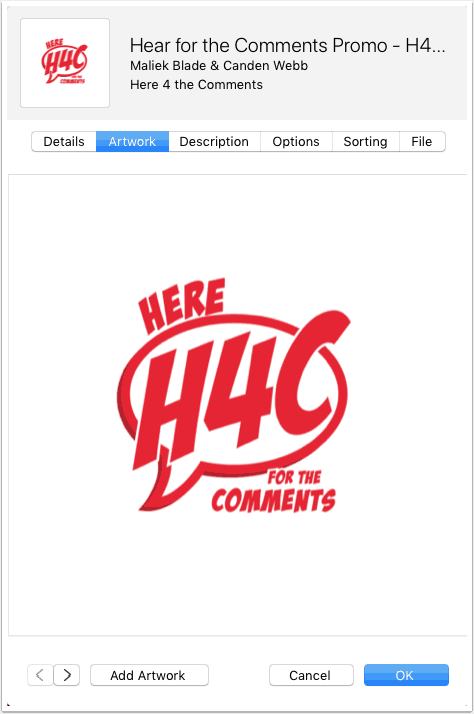
Click ok to save image
Your artwork should show up in the middle of the window once you drag it in.
Click OK to save all of the metadata.
Show in finder
Right the file and click show in Finder (or Windows Explorer)
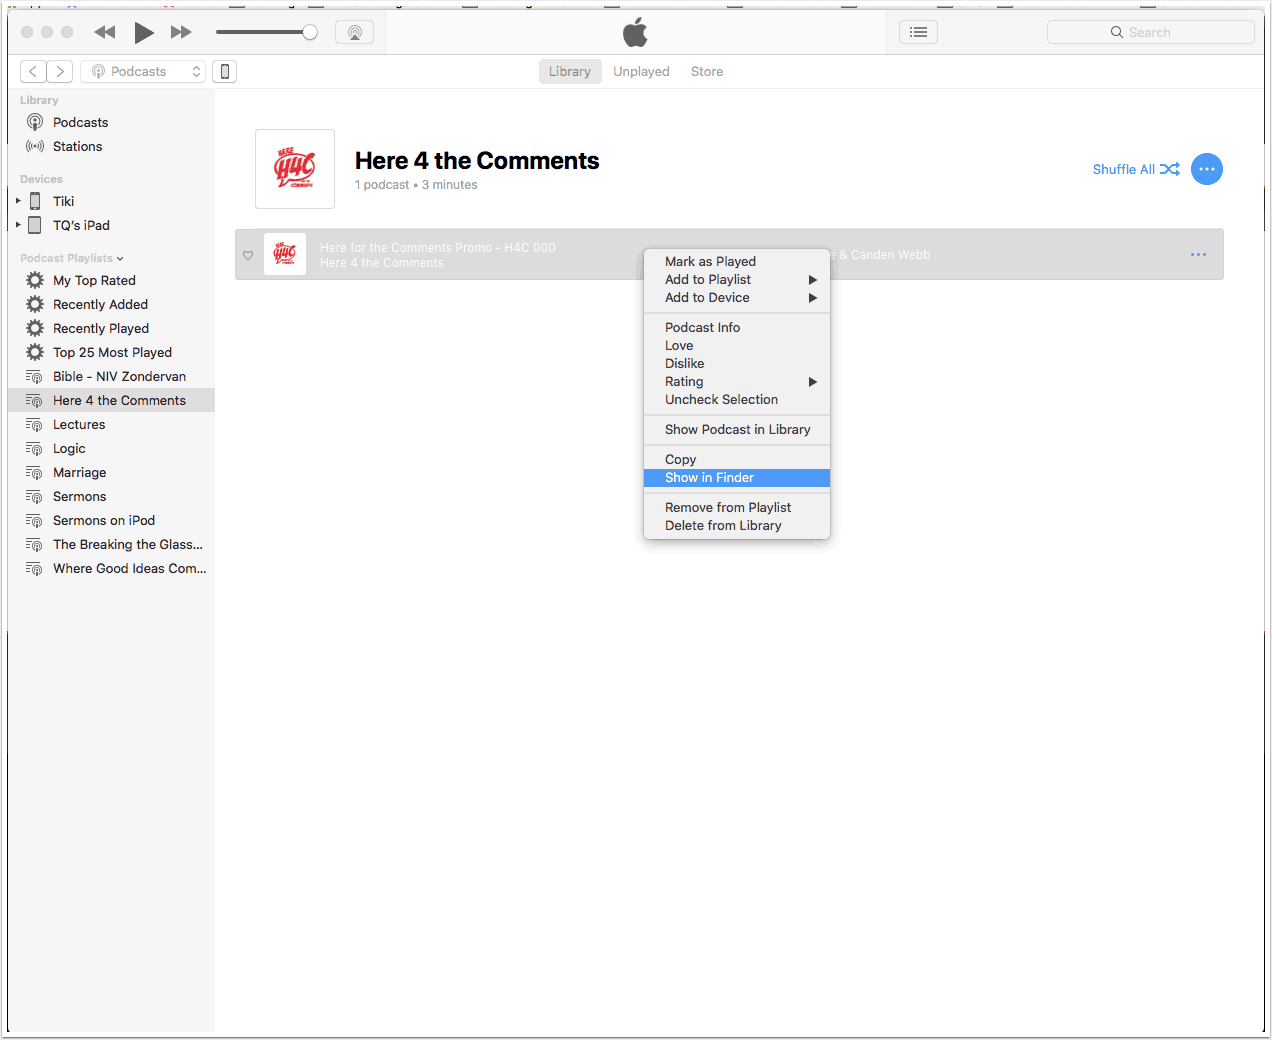
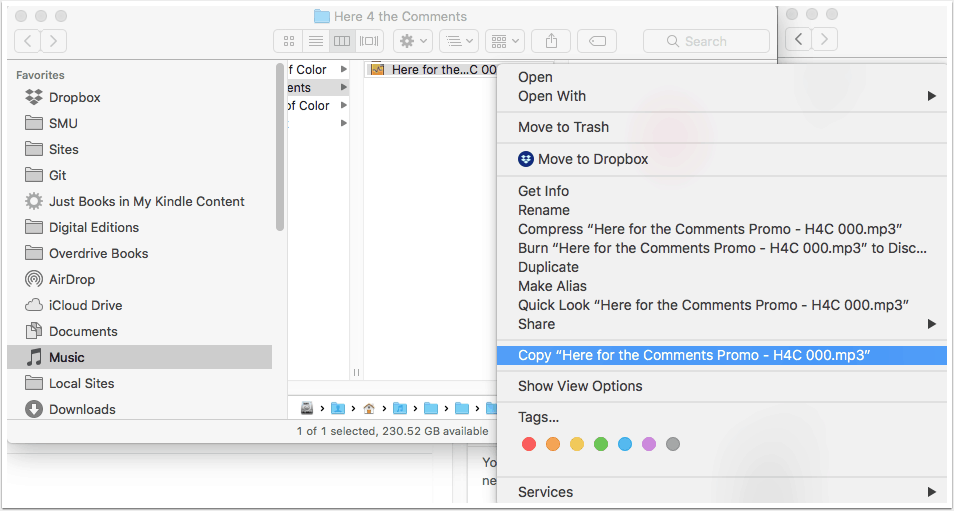
Copy file to a Single Folder
It’s a good idea to keep track of all of your files in one folder just in case.
When you show in Finder, it should open to the location of the file with all of the ID3 metadata. Right click and copy.
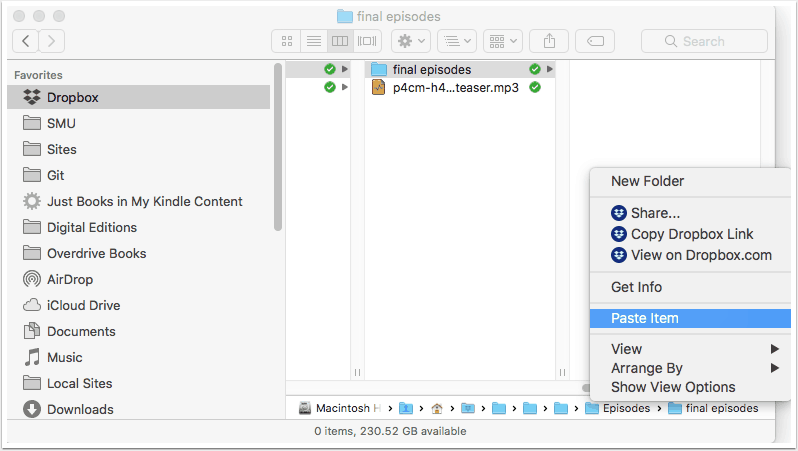
Paste to storage folder
Paste the final file to a folder for the final version of
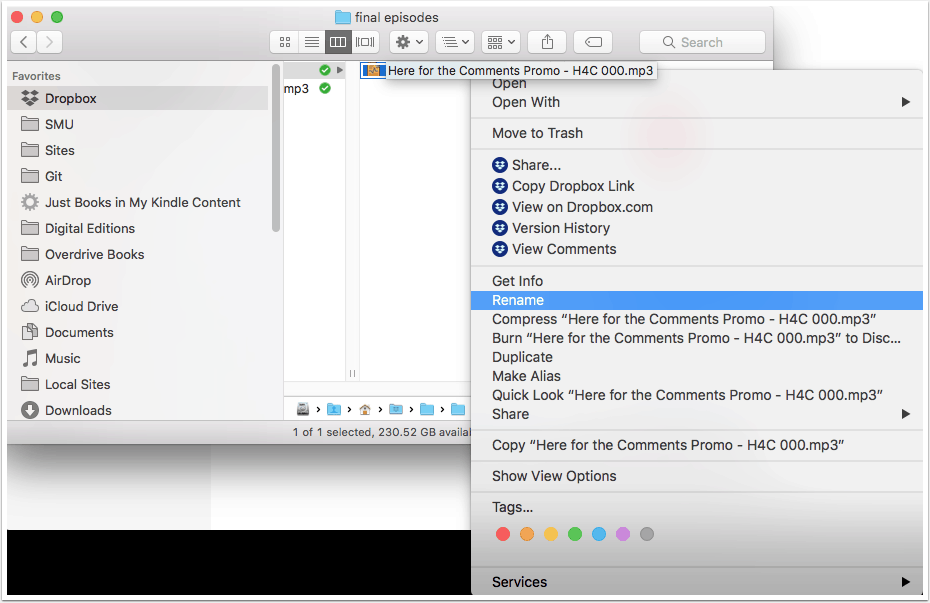
Rename the File
Right click the file and click rename. It’ll be named whatever the song is named in iTunes.
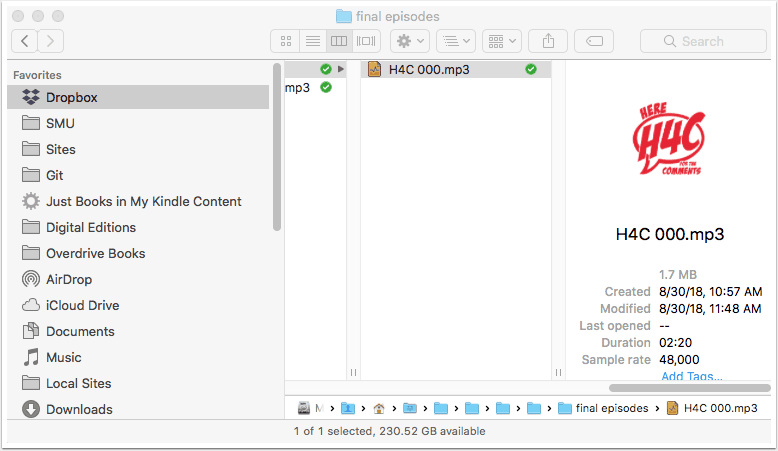
Rename the File
Name the file a short name. This is important for the name of the file online. An easy way is to name it with an abbreviation for your show and a 3 digit episode number. In this case H4C 000. You can add a dash and a small addition to remember what the episode was about. For example you can use the guest name or the topic, but keep it short.
Sign into Libsyn
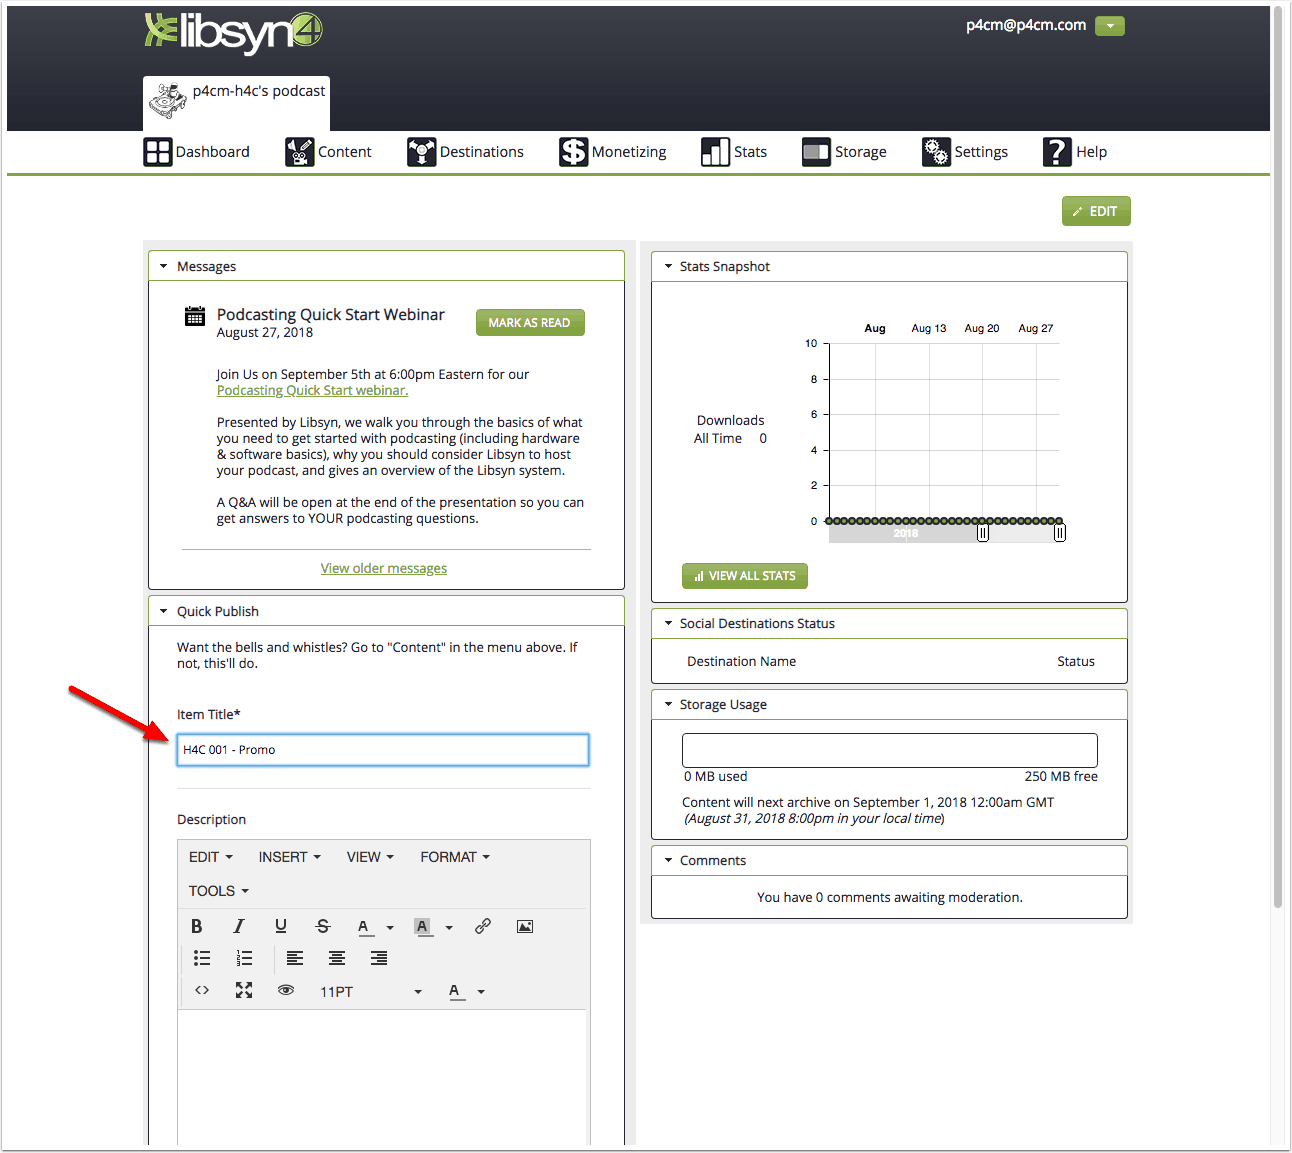
Set the title
The first page you sign into is the dashboard. Just copy the title you created in iTunes to the item Title.
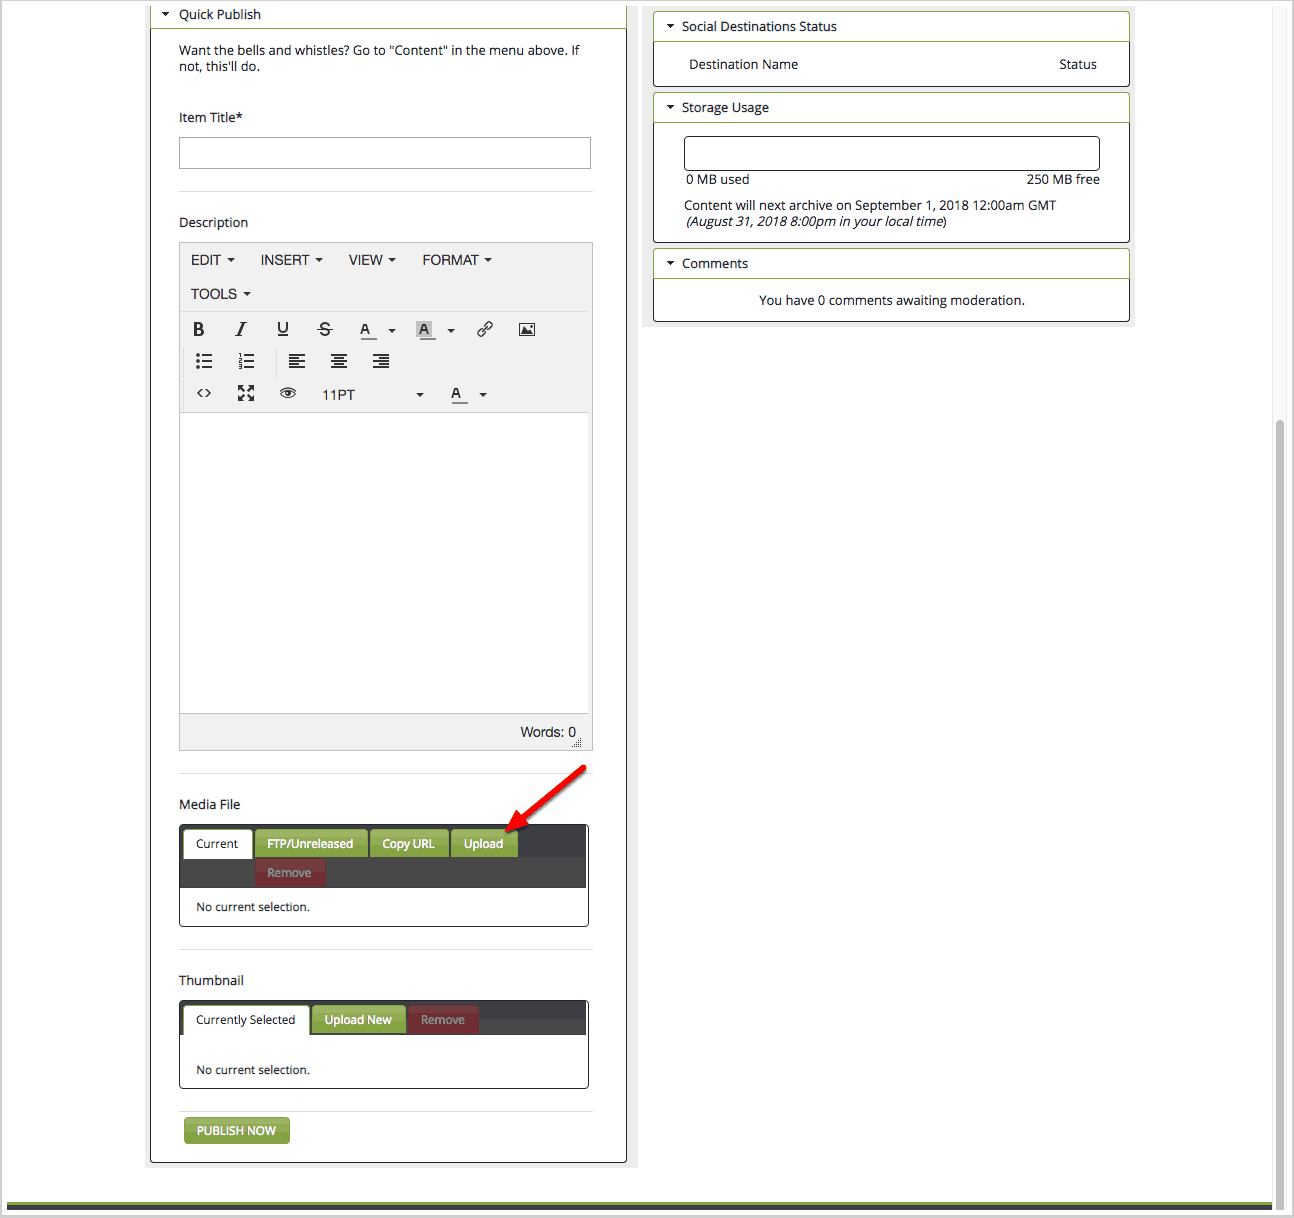
Click the upload tab
In the media section, click the upload tab.
Click choose file
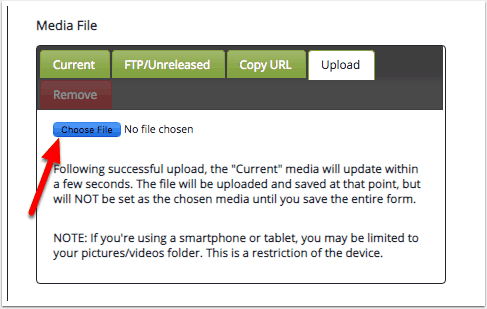
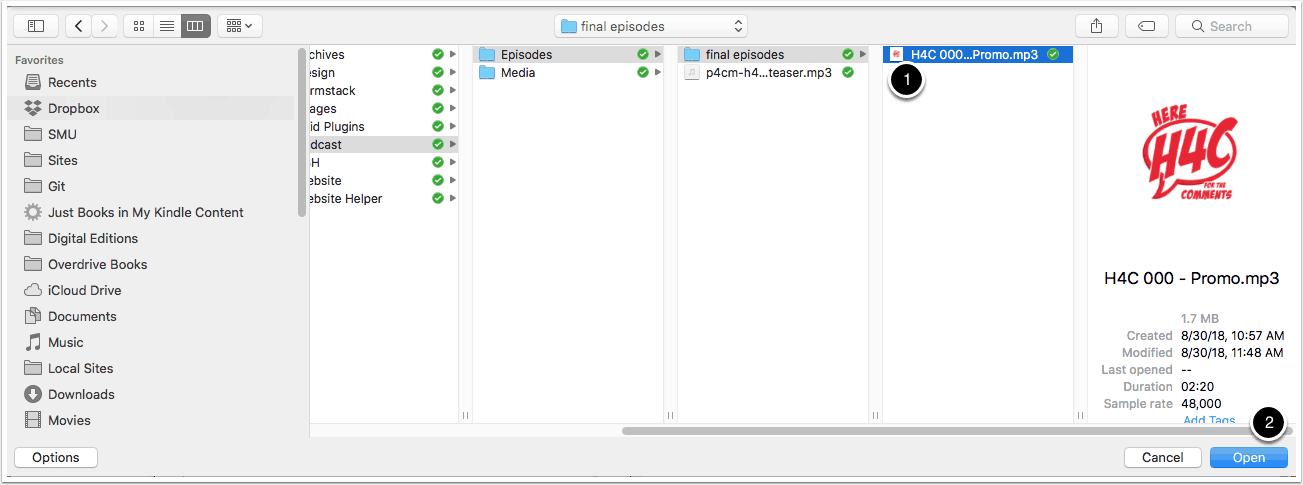
Select the episode
- When the file manager or finder comes up, select the final file
- Click open
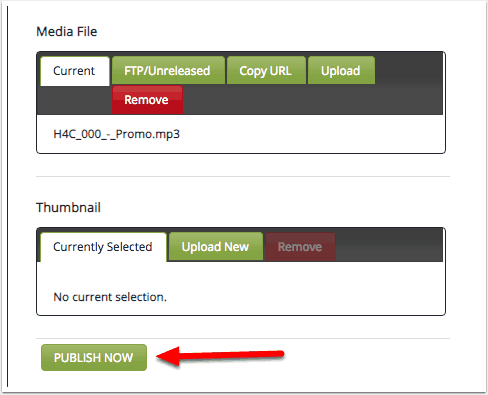
Click publish now
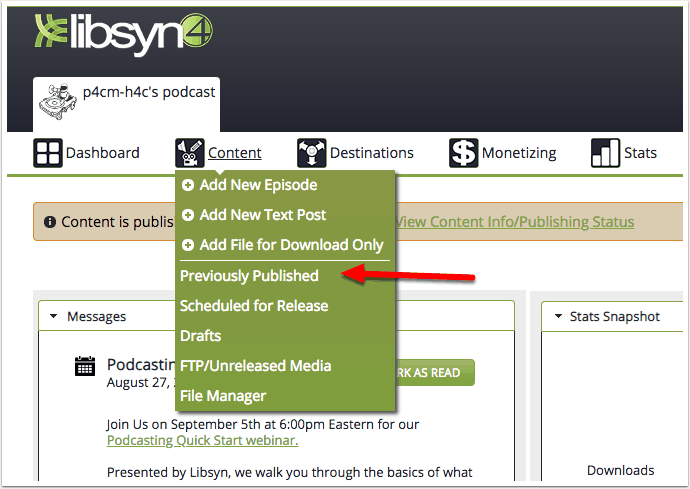
Click previously published link
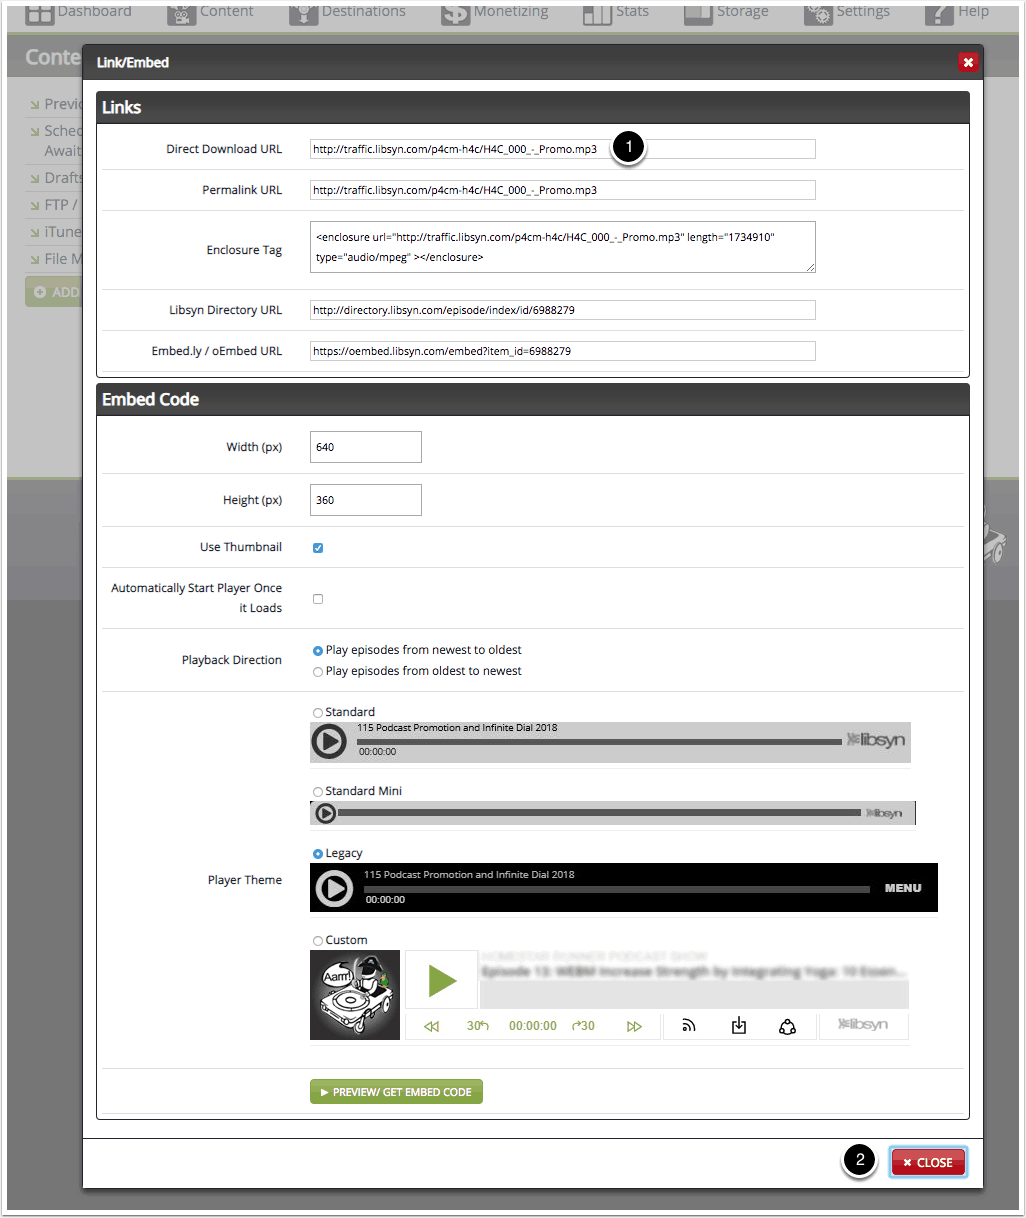
Click link button
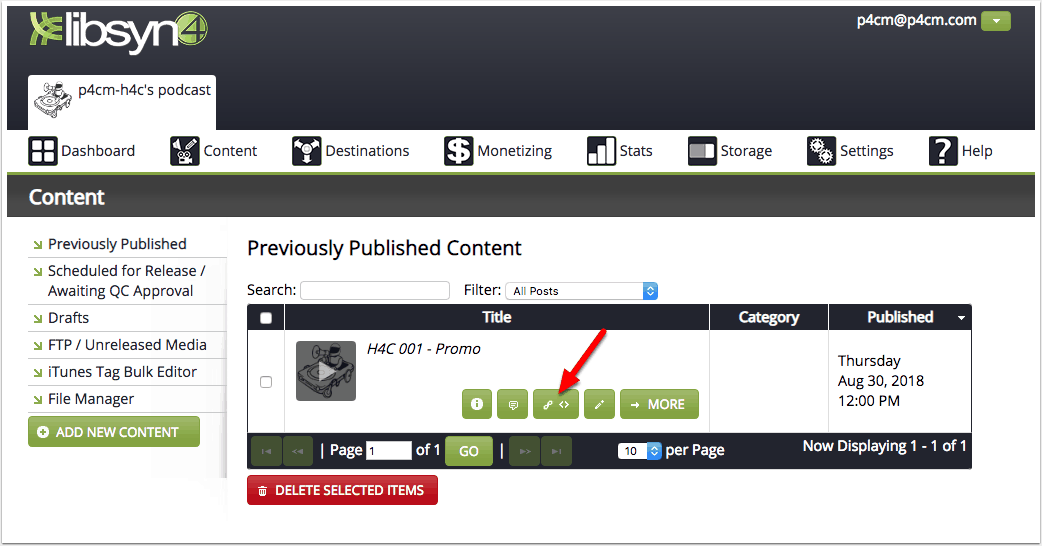
Get the podcast link
- Copy the link from the direct download url
- Click close
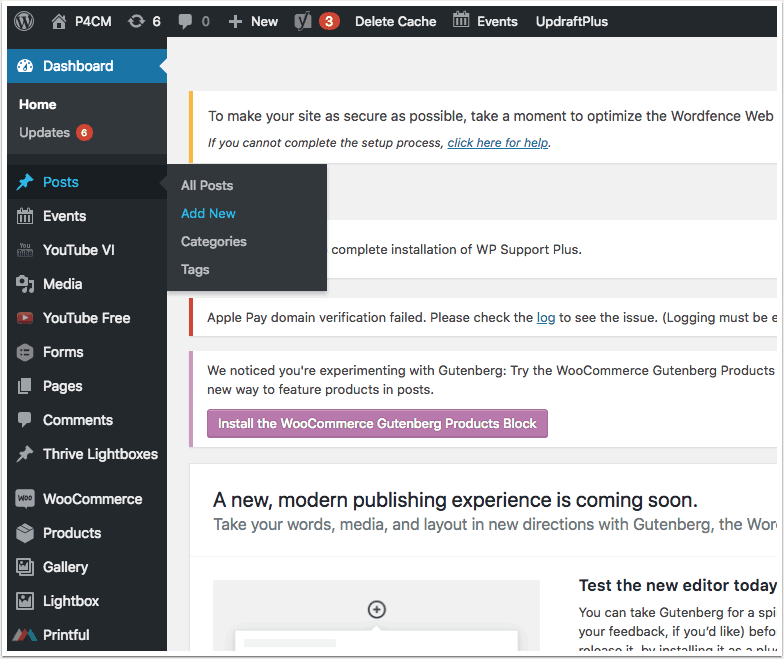
Create a new post in wordpress
Log into WordPress at https://p4cm.com/wp-admin/ and hover over posts and click add new.
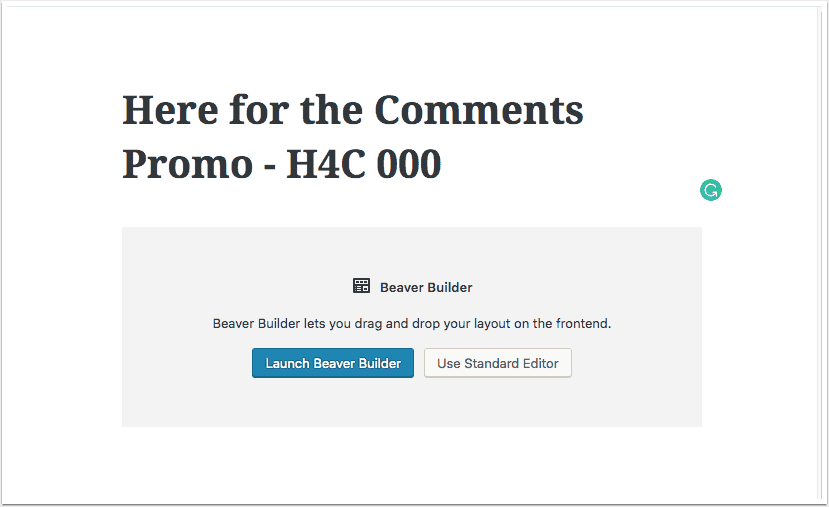
Add the title
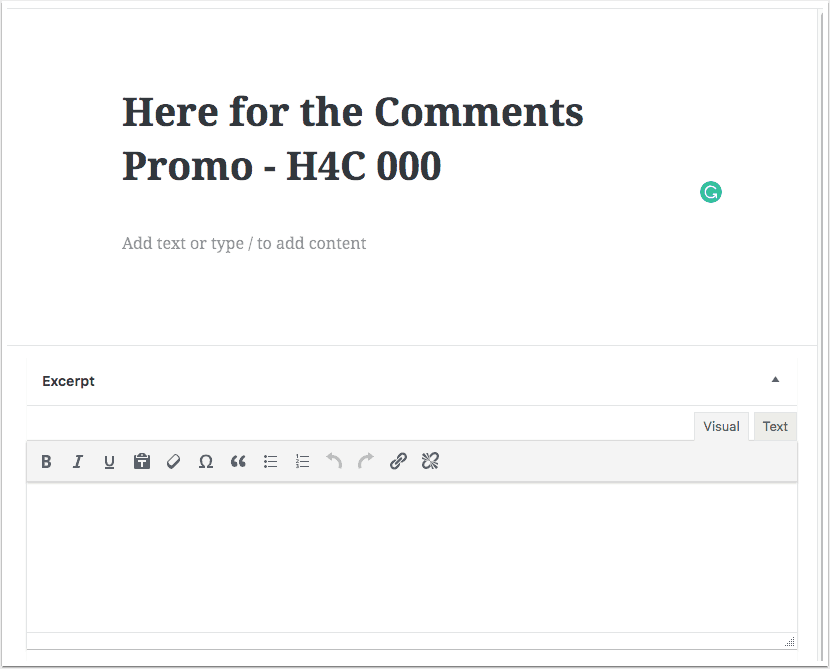
Add text and excerpt
- Add text in the first box. This is what will appear in the show notes of the podcast episode.
- Add an excerpt. This will be what shows up the preview list of podcasts on the website so make it enticing and less than 150 characters.
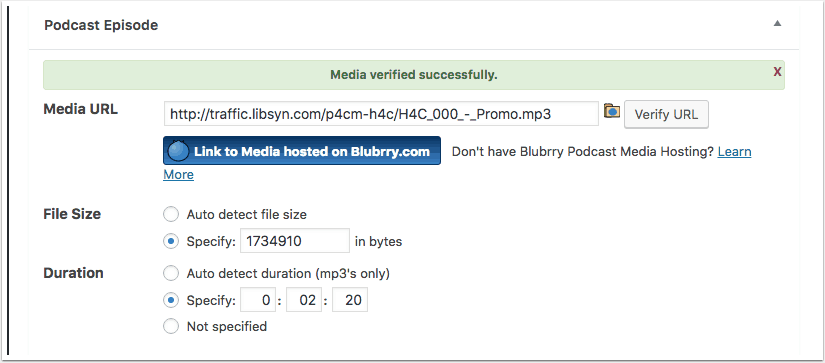
Insert the podcast link
In the podcast episode section
- Paste the link you got from libsyn
- Click verify url and the file size and duration will automatically populate
If you see Media verified successfully above the link, you’re all good.
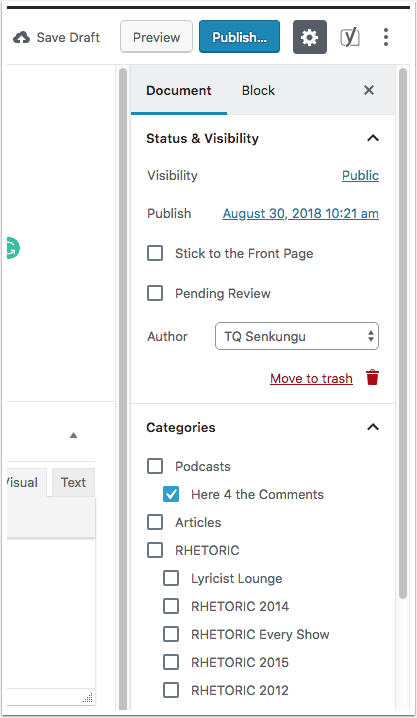
Select category
In the right column, make sure the document tab is selected and choose the category of your Podcast title. In this case, it’s Here for the Comments.
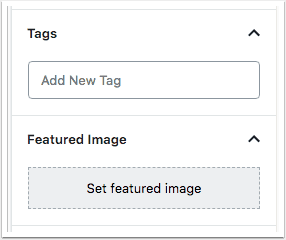
Select Tags
Optionally, choose the tags for the subject of the podcast.
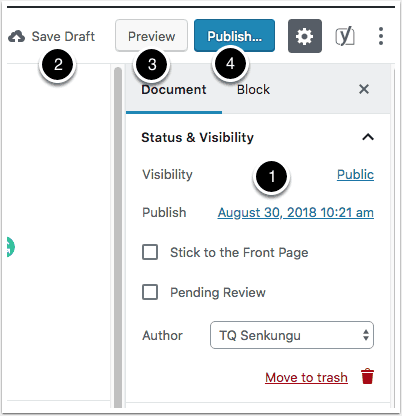
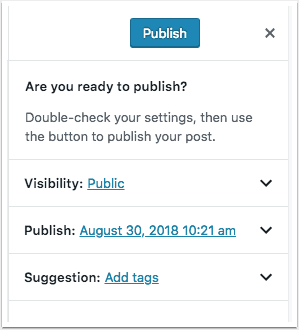
Finalize and Publish
- Set the publish date and time if your are setting it for a future scheduled publish date and time. If you want to publish right now, leave it alone.
- If you want to come back and work on the post later, click “Save Draft”
- If you want to see what it’ll look like, click preview
- If you’re ready to post, click publish.
Note: Be 100% sure your episode is ready to go when you click publish. Once you do this, the episode will go out to all of the platforms and your subscribers.
Confirm publish
To make sure you’re sure, WordPress verifies you’re ready. Once you click this, you’re live. The exception is if you set it for a date in the future, in which case you’re scheduled to go live.
Once you’re live, go to a few podcast players and iTunes to verify the post went out. Give it up to 10 minutes, but often the post goes live almost immediately.
TQ Senkungu
Latest posts by TQ Senkungu (see all)
- Creating Podcast Episode - September 1, 2018
- Creating a Document Template for Signature - January 23, 2018
- Setting Up T-Shirt on WooCommerce and Printful - November 28, 2017