This will show how to set up a shirt to be printed and fulfilled by printful. It should all work fine if the website store is syncing with the printful store.
Create product and add description
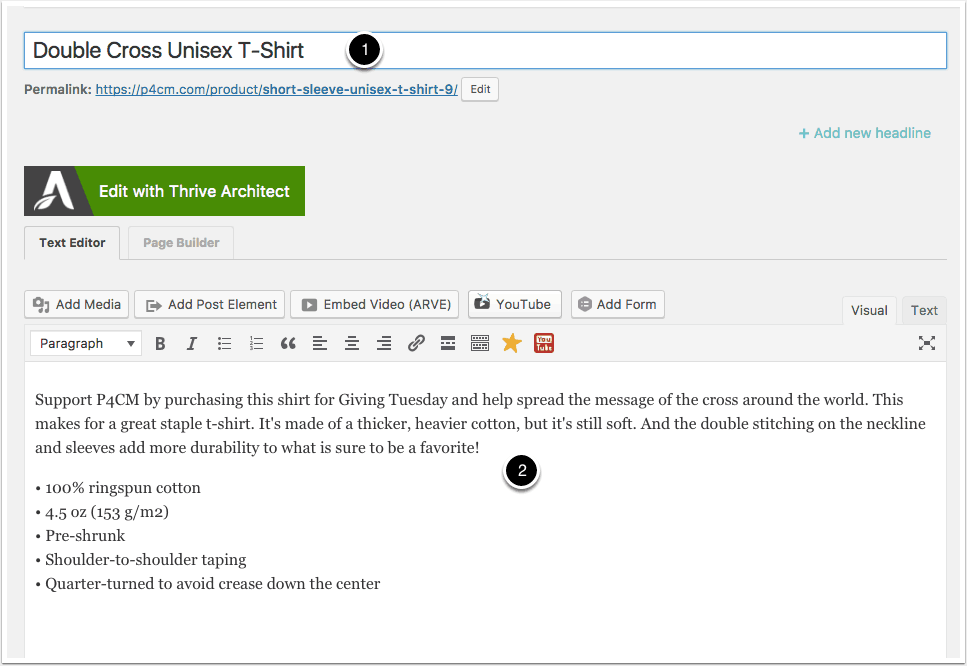
Set up product image
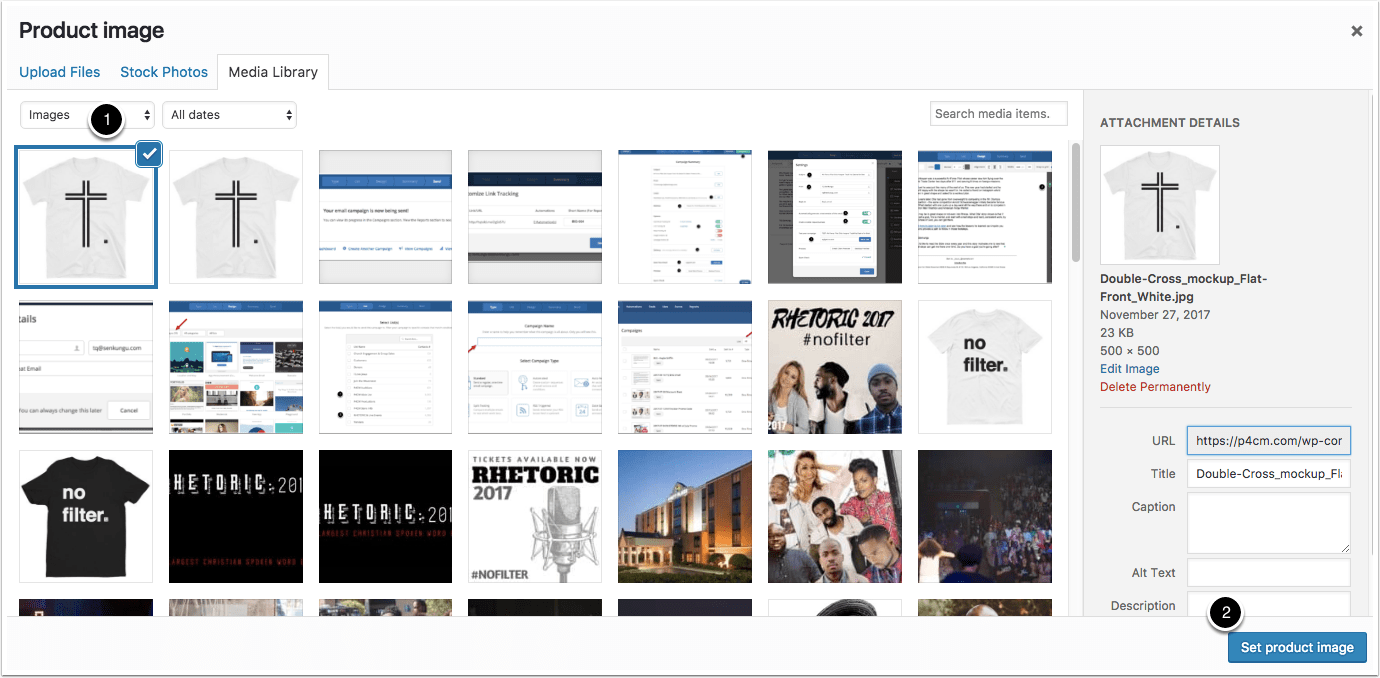
This is the default image for the product. You can create it quickly using the mockup generator in Printful. (https://www.printful.com/mockup-generator)

Select default image
- Click image you want as default
- Click set product image button
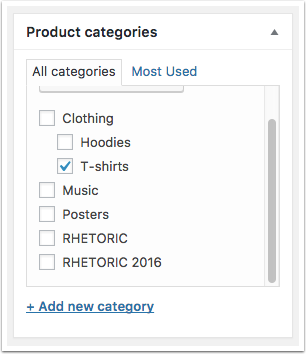
Set product category
Set as variable product
Most products will have varied colors and/or sizes. If so, select variable product option.

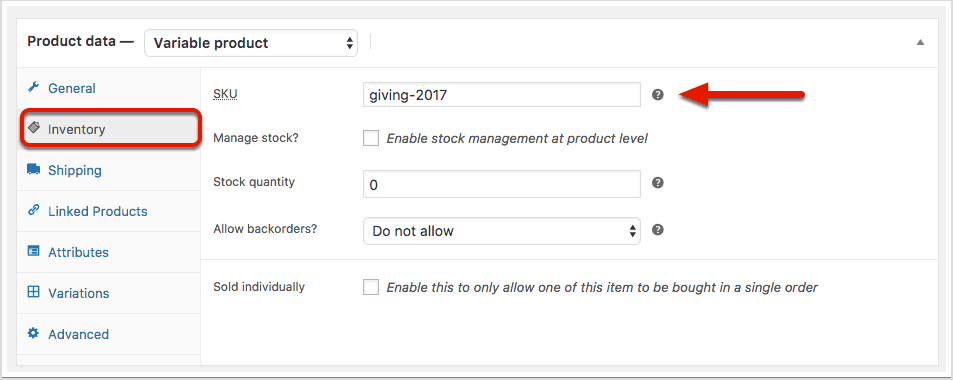
Add baseline SKU
Add a sku for a unique identifier of the product. You’ll add other skus for the variations below. This is useful for tracking sales after the fact. This info is also sent to ActiveCampaign so you can track buyers over time.
Set shipping class to Printful
Setting this to Printful allows printful to take care of shipping calculations.

Set up attributes
- Use existing attributes or add custom ones.
- In this case size is a custom attribute. Add all of the sizes with a pipe in between. ( | or Shift+\ )
- Color is a pre-existing attribute and you can select the ones you want to use.
- For any attributes that a buyer will use for purchase, check the box marked “Used for variations.” We’ll see why in the next step.

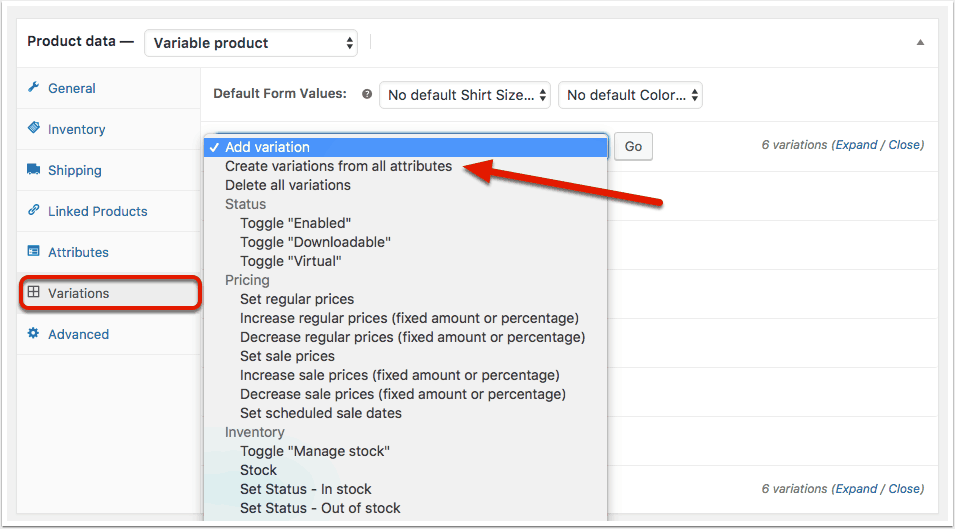
Automatically create all variations
Select options marked “Create variations from all attributes.” This will automatically create multiple variations of colors and sizes and any other attributes. It may take a few moments.
You can also manually add variations and delete them as needed.
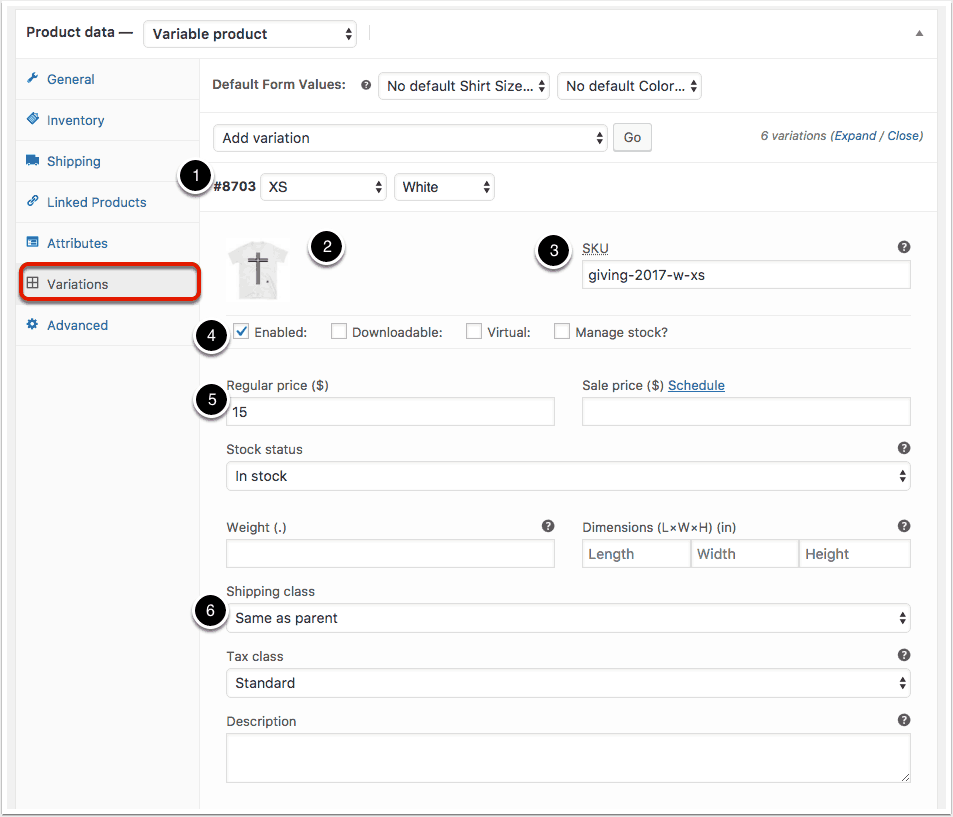
Set up each variation
- Note all of the variation ID numbers for comparison in Printful
- Add an image for the item that matches the color and sign
- Add a SKU for the individual item. In this case w is added for the color white and xs is added for the size.
- Ensure the item is marked Enabled
- Set the regular proce and any scheduled discounts
- Shipping class should be marked same as parent
Everything else will be the default.
Save variation changes
Once all items have been set up, click save changes in the product data area.

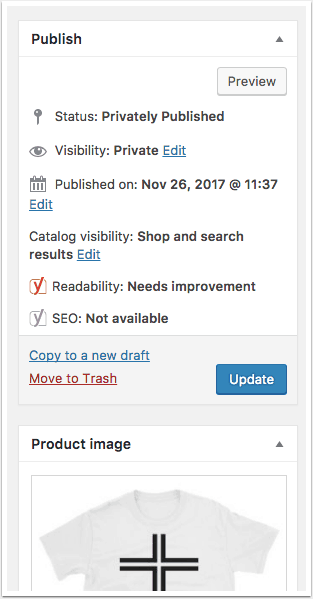
Publish or update the product
If you have not published the product yet, do that. If you have, click update to add all changes.
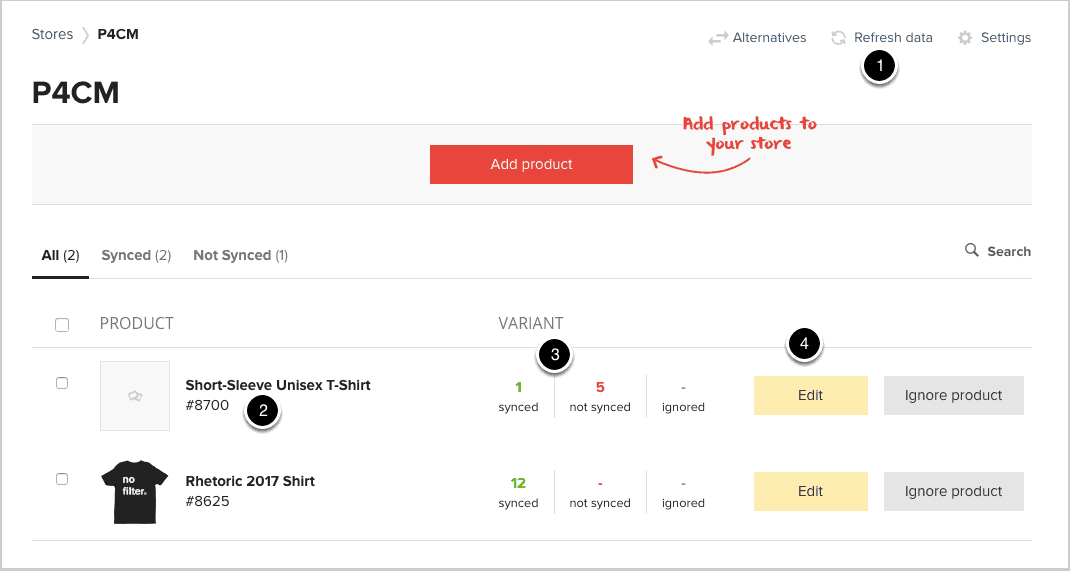
Set up the shirt in the Printful store
Select the P4CM printful store

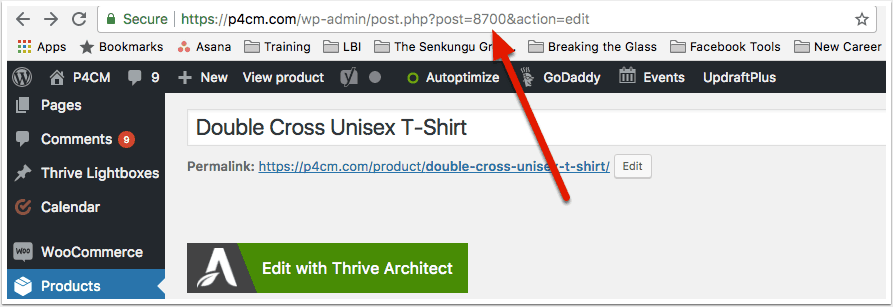
Note the product ID number in WooCommerce
Just after post= is the ID number of the product in WooCommerce
Refresh the store and select the item.
- Click refresh data to pull in newly saved products
- Verify product ID you found on the website
- Check number of synced and not synced items under variant. At first all should be not synced.
- Click Edit to set up shirt printing
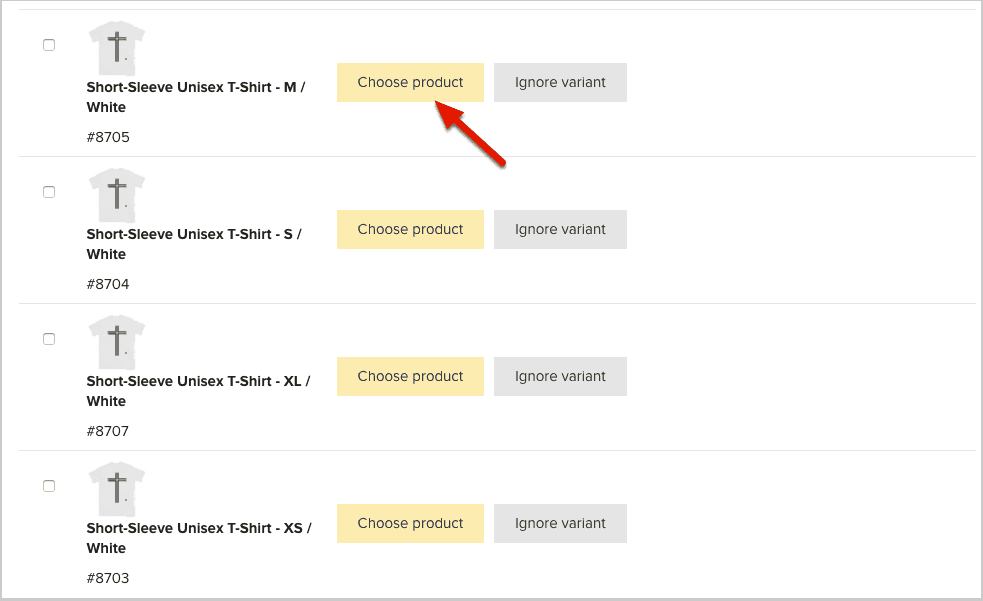
Click Choose product
Note the size and color of the item.
Selct the category
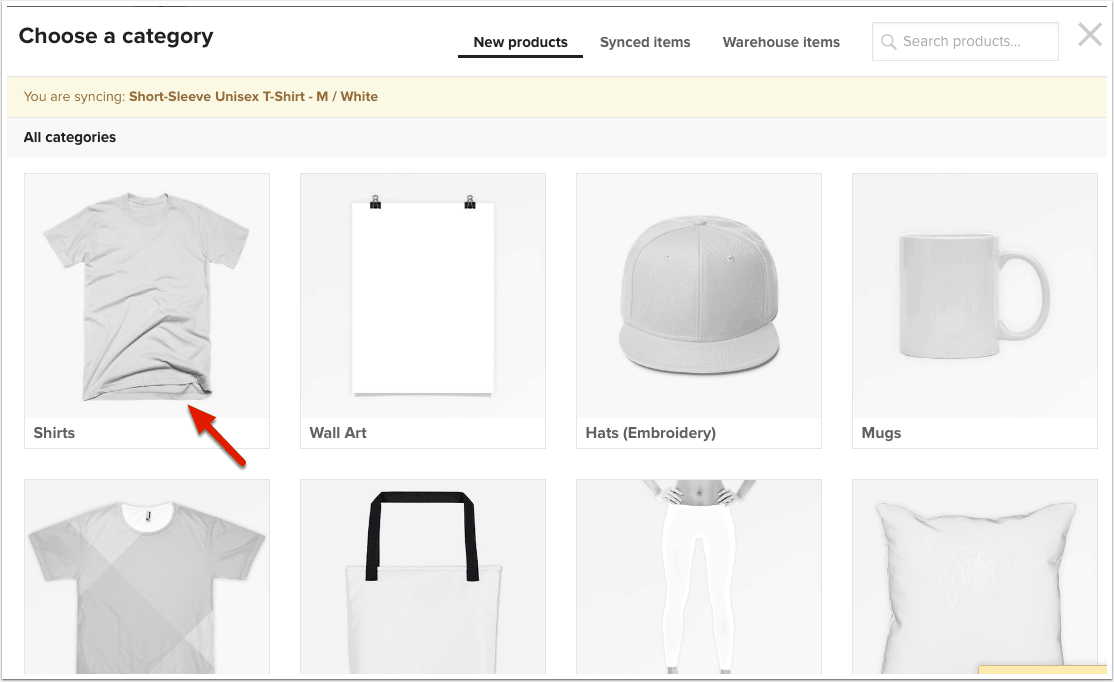
Select actual item

Set up variations
- Select color
- Select size
- Click choose file to select your artwork

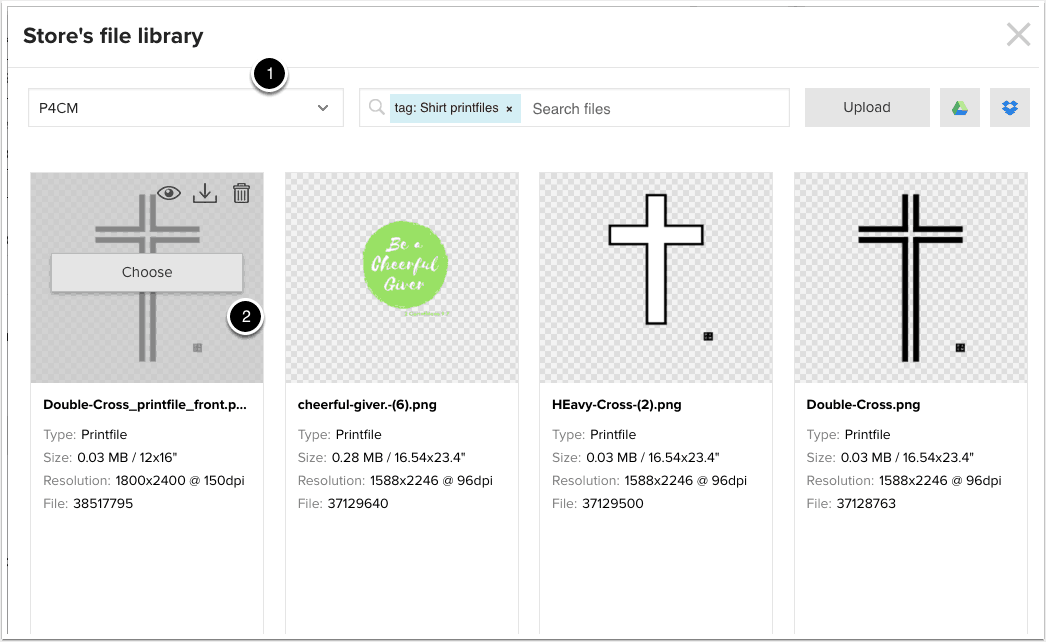
Pick the printing artwork
- Select P4CM store
- Click choose on the printfile you created in the mockup creator
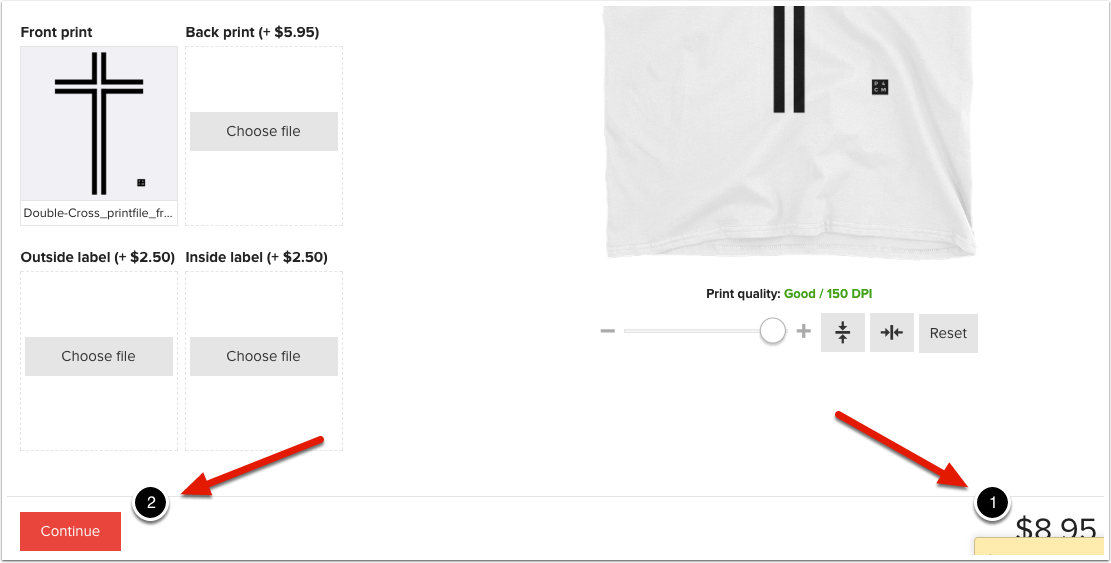
Adjust the position of the design if needed
You should use the mockup generator to make the file and adjustments, but if need be, make the changes here.

Verify the price and click continue
- Verify the price of the item
- Click continue
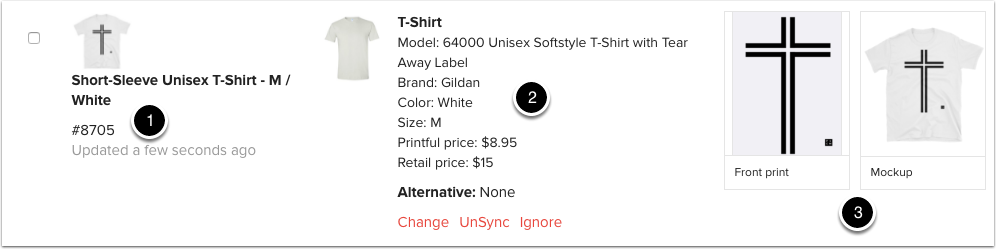
Verify that details match
- Make sure variation number matches variation in WooCommerce
- Verify size and color you selected in Prtinful matches the size and color of the variaton in WooCommerce and verify price
- Make sure the print file and mockup are right as well
Verify all setup is synced
- All items should be synced.
In this case, there is no XS for the brand of shirt we wanted so we deleted one of the variations in WooCommerce. That change synced to Printful and you’re good to go.

TQ Senkungu
Latest posts by TQ Senkungu (see all)
- Creating Podcast Episode - September 1, 2018
- Creating a Document Template for Signature - January 23, 2018
- Setting Up T-Shirt on WooCommerce and Printful - November 28, 2017